FOOD PLOT GUIDE
Kenny Miller
Determining the amount of Food Plots you want.
You can determine how much acreage you should contribute to food plots once you figure out what your feeding strategy is. Do you want a food source on your property that provides nutrition to your deer herd year-round, or do you want your food sources to be more of an attractant?
If there are no agricultural fields nearby and you want to provide a primary food source for the deer year-round, you will want to designate five to ten percent of your property to a food source. Primary source food plots are most often bigger than attraction plots and can be in large open fields. These exposed food sources may not be as effective for daytime usage as your smaller secluded plot sites.
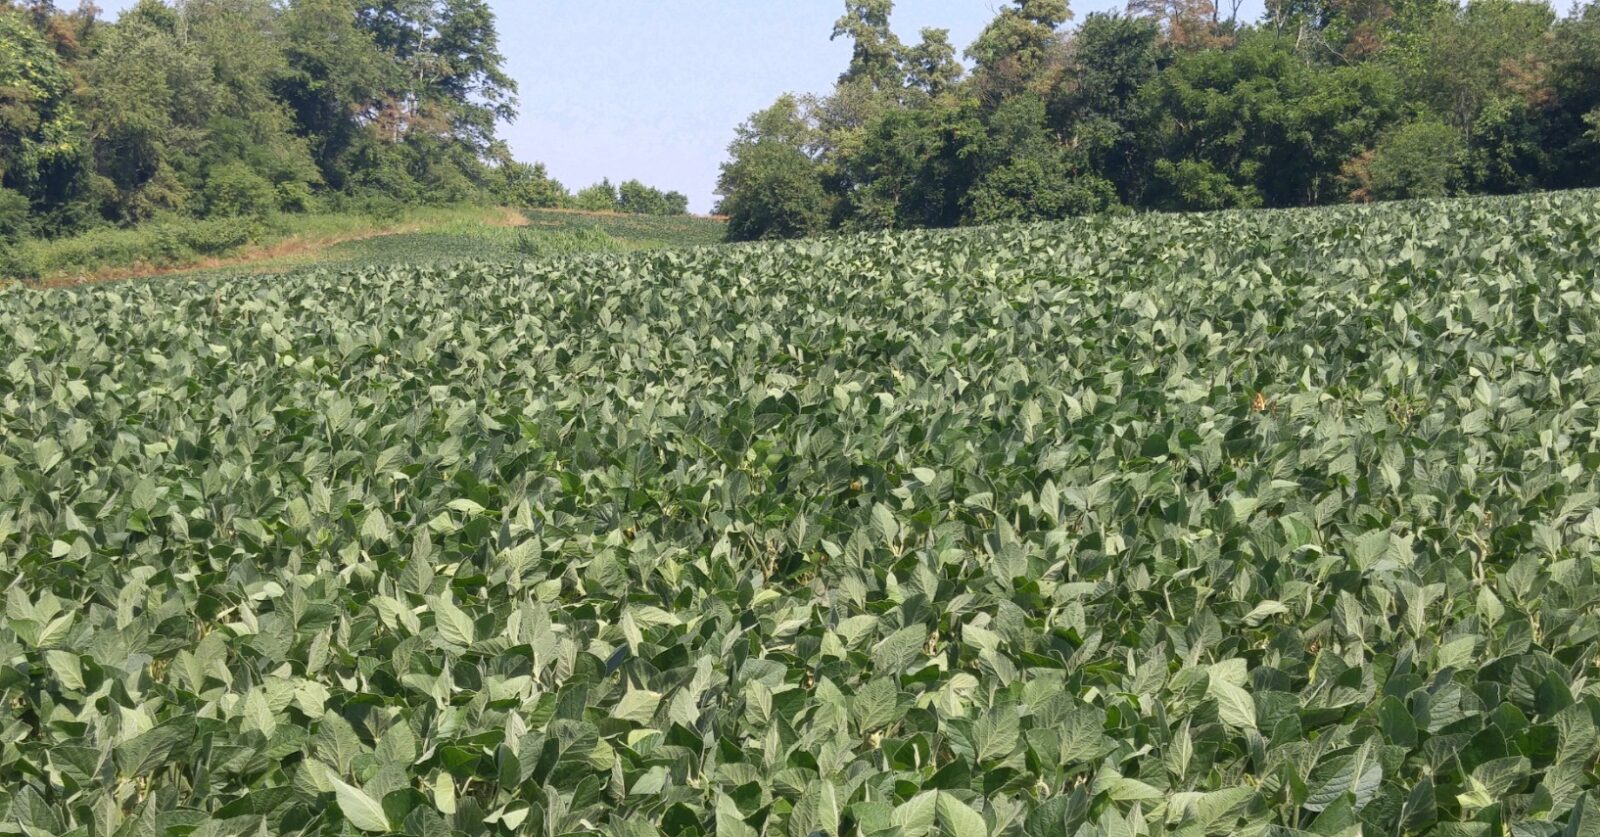
For primary food sources, you want to plant 60-75% of your food plot with perennial crops such as clovers, alfalfas, and chicory. These varieties are high in protein and, if properly managed, will last 4-5 years. The other 25-40% of the primary food source plots are planted with annuals such as buckwheat, grain, sorghum, turnips, rape, corn, soybeans, and brassicas. These provide a high energy source and need to be replanted every year. This strategy allows you to have a better crop rotation, thus not depleting the nutrients in your soil.
If you are more interested in using food plots as an attractant, good news, these hunting plots can be established almost anywhere you find a little opening or pocket in your woods. These will typically be smaller than primary source food plots.
Where should you establish your Food Plots?
People tend to establish their food plots in the area on the property that is the most convenient. This may not always be the best practice.
Sometimes circumstances, such as not having access to resources for clearing new plots sites, dictate where you build your food plots. It is perfectly fine. Work with what you have.
However, if you have the resources and are looking to establish new plot sites, keep a couple of things in mind. Concentrate on areas where the deer will be comfortable feeding, away from roadways and entry points onto your property.
Keep prevailing winds in mind when establishing smaller hunting plots. It is also a good practice to stay well enough away from deer bedding areas, so you can get to your stands without disturbing the deer. Keeping plots 150 yards away from bedding is a good rule of thumb. However, this can change depending on the contour of the property.
Logging roads and small natural openings in timber are a great place to establish smaller plots. Select an area where at least 4-6 hours of direct sunlight will hit. Make sure to eliminate any wet spots on your plots with proper drainage or create a diversion ditch to redirect water.
How big and what shape should your Food Plots be?
Food plots can be any size and shape that are suitable for the location and contour of the land. However, there are a couple of things to keep in mind when determining the size and shape of your new food plots.
Large exposed food plots will not be nearly as effective for deer movement during daylight hours, as your smaller secluded food plots will be. If your large exposed plots are meant to be more of a primary food source plot than a hunting plot, then you will be perfectly fine.
If you are planting primary food source plots, the bigger you can make them, the more effective you will be in holding deer on your property year-round.
Your hunting plots do not need to be large in size. In-fact, having these plots be less than an acre is ideal. (Most of our hunting plots are between a quarter acre and a half-acre in size.)
When possible, keep your hunting plots narrower in width. A mature buck will be more comfortable feeding in a narrow food plot (where escape is a few bounds away) than he will be in larger open food plots.
TIP: You can use your range finder to determine the size of your food plot. (This will be essential when it comes to determining the amount of seed, fertilizer, and lime you need.) Simply multiply the length by width (in yards) of your food plots. Dividing that number by 4,840 will give you the acreage of your food plot.
What equipment will I need to establish my Food Plots?
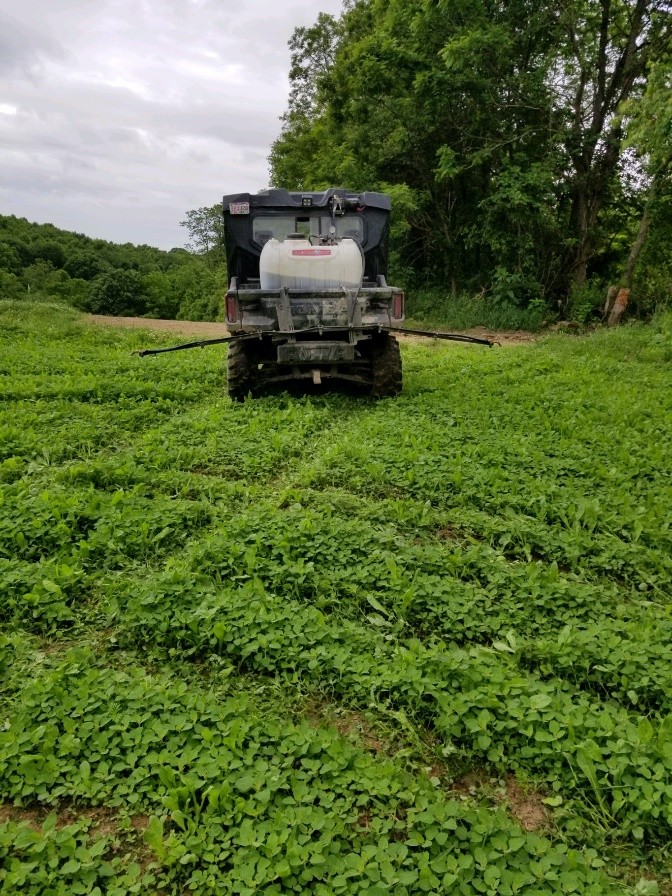 The equipment you need will be dependent on what your goals are. At the very least, you will need a sprayer, hand seeder, and something to break up the soil.
You can use anything ranging from a garden tiller up to a big farm tractor with a tiller or disk to break up your soil.
An ATV is a versatile piece of equipment for small to medium size plots. You can get a ton of accessories for your ATV, such as pull behind mowers, pull behind tillers, discs, sprayers, and seeder spreaders.
If you want to establish bigger primary food source plots, chances are, you don’t want to be using a small garden tiller. It would be more efficient to borrow or rent a tractor and tiller or disk for a day to plant your bigger plots. If you don’t have access to a tractor all the time, consider planting more perennials that will last 4-5 years. You will need to mow or spray your perennials yearly for weed control if you want the best results.
If you don’t have access to a mower and need to get rid of vegetation before planting, you can spray the vegetation with a weed killer and then do a controlled burn. Always make sure you follow safety guidelines and laws in your area when doing a controlled burn. It is the best idea to do burns only in the spring when surrounding vegetation is green.
Establishing Food Plots in new areas.
Preparing a new site for food plots properly is essential to a successful end product. For greatest results, remove all unwanted trees, stumps, and big rocks before tillage and planting.
All existing unwanted vegetation must be killed before the soil can be adequately prepared for planting. An excellent way to make sure to get rid of most of the vegetation is by mowing or clearing it. Allow a few weeks of green regrowth then apply a commercial grade weed killer that contains 41% glyphosate. This will kill the green vegetation when it comes in contact with it.
No ground prep should start before all unwanted vegetation is removed or dead.
Use soil tests to determine the amount of lime and fertilizer you need for a new Food Plot site.
Soil testing before establishing a new food plot is often an overlooked, critical part of the process. It is relatively inexpensive in most areas of the country.
Balanced plant nutrition is essential for growing the highest forage yields. Proper soil PH levels control the availability of nutrients in the soil that are in a usable form for promoting proper plant growth.
Applying lime to adjust the PH level when necessary is very important and is a very significant factor when it comes to establishing a food plot.
Collect four to six small samples from different areas of your new plot site and have them tested. The soil test will determine PH levels in that specific site and will advise you on the amount of lime and fertilizer to use to achieve a proper nutrition balance. Different crops vary on nutritional needs, but correct plant nutrition is needed to achieve maximum forage yield.
For best results, apply your lime well in advance of your planting when possible.
In most cases, you will use the amount of fertilizer suggested by the soil tests. There are, however, certain plants that don’t require as much nitrogen in the fertilizer as others. For example, clover creates its own nitrogen as it grows and doesn’t require a lot if additional nitrogen. Extra nitrogen will only promote more weed growth, and that’s never a good thing.
If you are unsure what type of fertilizer to use, ask your seed supplier. They will usually be happy to answer any questions you might have.
Preparing your seedbed and broadcasting the seed.
There are different methods you can use when preparing your soil before planting. It is important to create a loose, weed-free seedbed before applying your seeds.
For your seeds to germinate and grow, they must have good contact with the soil.
It is good to prepare your seedbed when the ground is holding a little moisture, but you don’t want the soil to be so wet it sticks to the equipment used to break it up.
In stagnant untilled plots, you will have the ground value be in the top four to six inches of topsoil; this is called organic matter. Organic matter provides a carbon source and presents the soil with proper aeration and will hold water better. You will be able to use a tiller to break up the top four to six inches at these sites.
In plot sites where you have a more compacted soil, the best practice for your primary tillage is using a plow, disc, chisel, or a sweep to break up the ground. If needed, you can apply your lime and fertilizer here before you move on to the next step.
Next, you can use a harrow or cultipacker to firm and smooth over your seedbed. Your goal is to have the ground particles be pea to marble-sized. If you break the soil up into smaller ground particles than that, you can create a surface crust and soil compaction.
Once the surface is properly prepared, spread the seed using the recommended amount on the seed label.
You can use a mounted or pull-behind seed spreader. However, I like to use a hand seed spreader for broadcasting seeds as it gives me more control to spread seeds evenly. You can spread fertilizer and lime using a mounted or pull-behind seed spreader.
As a general rule of thumb, larger seeds such as oats should have a light layer of dirt over them after they’re planted. You can use a harrow or drag to do this.
Smaller seeds such as clover, chicory, and brassica should be left on top of the seedbed. You can use a cultipacker to ensure good seed to soil contact without covering it.
TIP: If you don’t have access to equipment or have a hard to reach area, you can consider No Plow food plots. You still need good seed to soil contact, but you can achieve this with a weed killer and a garden rake.
What seeds should I use?

For some folks, picking out the correct seeds for your food plots can be just as daunting as preparing the seedbed.
Good news! Source your seeds from reputable dealers that are willing to help you make the right choice, and your problem is solved.
If you want to know what we use and have very good success with, here’s our seed source. If you are putting out perennials that come up every year, plant mixes of different perennials that mature at different times of the year. This is an effective way to attract deer and ensure they have a source of nutrition year-round.
Select only seed mixtures that are suitable for your region and climate. You can ask your seed dealer for information on seed mixtures that are suitable in your region. Some seeds varieties are best planted in the Spring or Fall, and some can be planted throughout the growing season. Keep this in mind when you are planning out your food plots.
Also keep in mind, the amount of sunlight a plot will receive and whether it is in a dry or wet climate. These days you can find seeds that can thrive in most of those conditions.
Rotating your crops will have a significant effect on the long-term success of your food plots. Each type of plant requires different nutrients, so planting different crops every year will allow the soil to replenish its most depleted nutrients.
When planting perennial crops, rotate another crop every three to five years.